I already answered this via e-mail, but also sharing the response here, in case this is useful for others:
I need 16 sets of RGB to control each light in the sticks. However, when I use the fixture creator, I can only add 1 set of rgb. If I try to add another, it just changes the current RGB fixture channels and doesn’t add another set.
This happens because Fixture Editor expects all the attribute names to be unique. If you want to have more than one instance of a certain attribute, you need to first change the name of the first added one. However, a more convenient way to address individual cells of a LED strip is using an aggregate fixture profile. Beam’s Fixture Editor currently doesn’t support this yet, so aggregate fixture profiles need to be created manually (fixture profiles are in JSON format), but as this is something users aren’t usually comfortable doing, we are happy to receive requests for such fixture profiles.
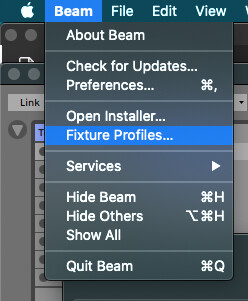
1. Add fixture profiles to Beam:
Download:
Place both in your Fixture Profiles/User directory, which you can reach here:
2. Beam Patch:
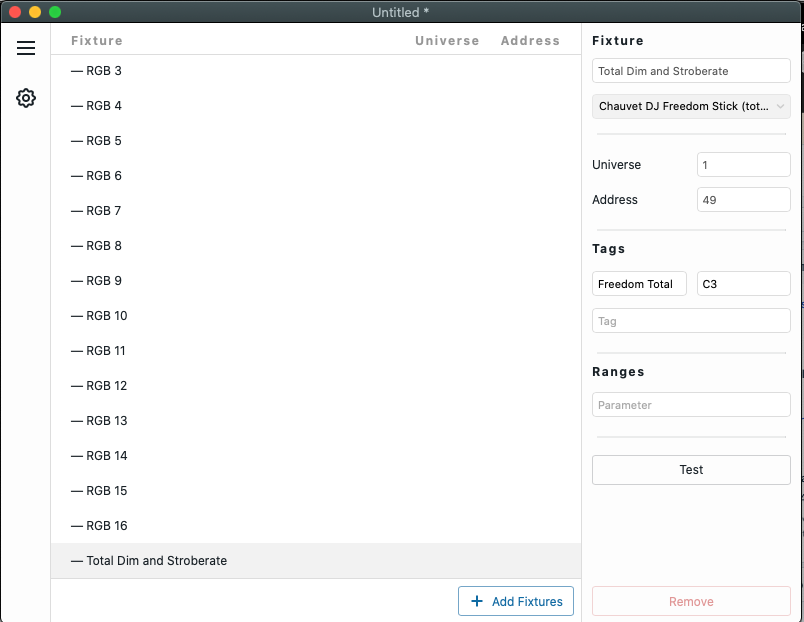
After you have added the fixture profile files make sure to restart Beam. Add the "Chauvet DJ Freedom Stick - 50ch" profile to the patch and don’t add any tags in the pop-up creator window just yet. Double-click on the added fixture to expand it and see all the children fixtures (pixels):
Select all the RGB fixtures and assign a tag to them (in this case I gave them a tag “Freedom RGB”). If you click on each fixture separately you will see each fixture has a dedicated MIDI note - a note that you can later use in Ableton to trigger “dim” envelope for that specific pixel.
Finally, scroll to the bottom, select the Total Dim and Stroberate fixture and assign a separate tag to it (in this case I gave it a tag “Freedom Total”):
You will use this tag to control the total dim and stroberate of the entire fixture.
Here is the Chauvet DJ Freedom Stick test.sbp (7.0 KB) patch file made using these steps.
3. Live set:
For this step download Chauvet Freedom test (Live 11, Beam 1.4 devices).als or Chauvet Freedom test (Live 12, Beam 1.6 devices).als (18.8 KB).
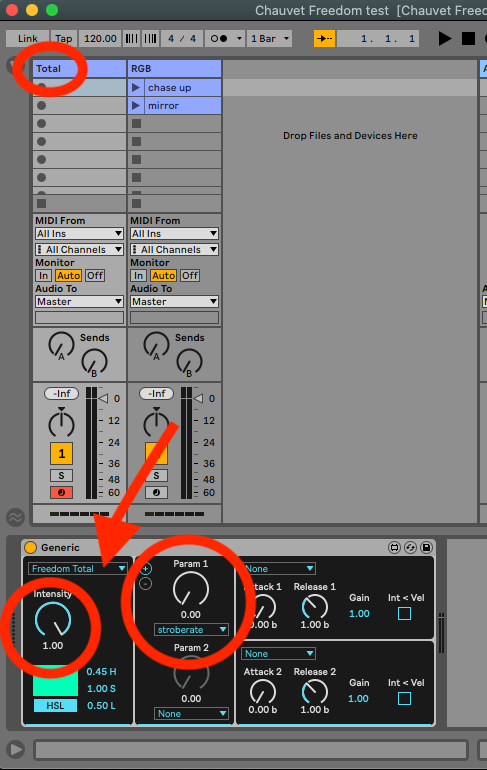
Add a track with a Generic device (you could also use the Strobe device) and select the “Freedom Total” tag or whatever tag you assigned to the Total Dim and Stroberate fixture. You can use this device/track to control the total dim and stroberate of the fixture. Since we will be controlling the dim of every pixel individually via the “Freedom RGB” tag you can just set the total dim (intensity) to always be at maximum (it is basically like a master fader for the fixture).
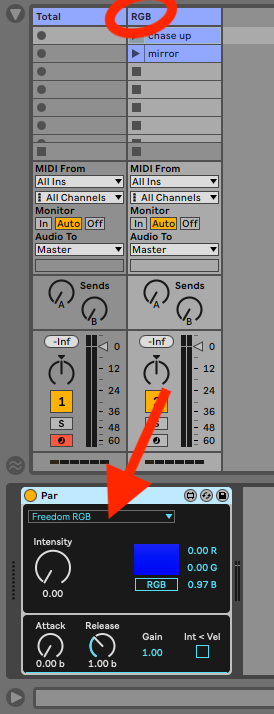
Last, but not least, add another track, add a Par device and select the “Freedom RGB” or whatever tag you assigned to the RGB fixtures.
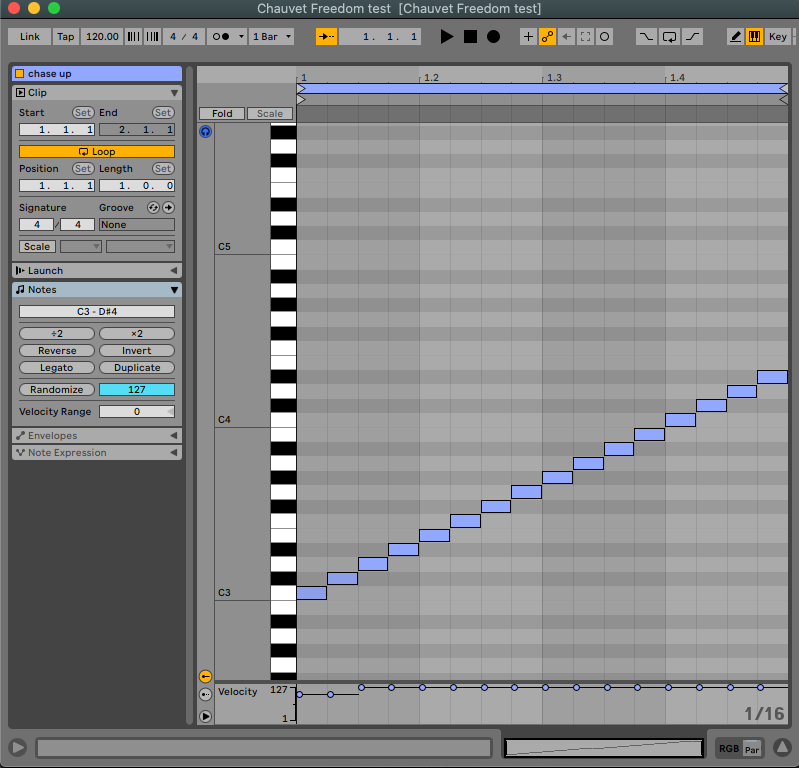
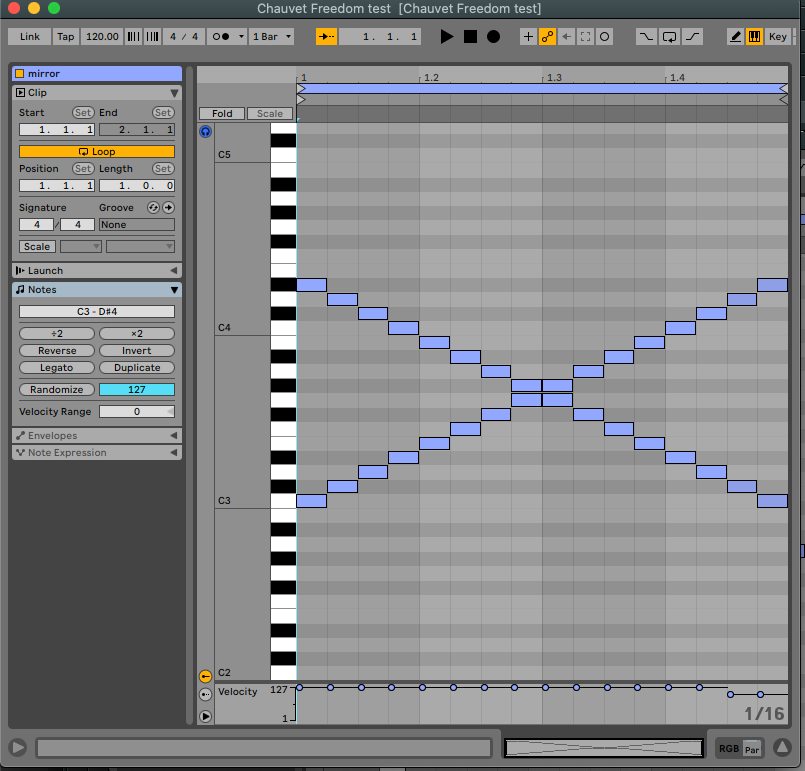
You can now compose chase effects using MIDI notes:
You can always add additional RGB tracks with different colors and envelope settings for additional layers which can all be played together, as shown in this Instagram video.